Integrating Alpine.js with Webflow and ChatGPT: Workaround for Custom Attributes and Function Calls

So I created a master prompt for ChatGPT via AIPRM so everyone now can use this pre-set to create amazing things in Webflow. But before giving you the link, I have to explain how it works.
The Challenge: Using Alpine.js in Webflow
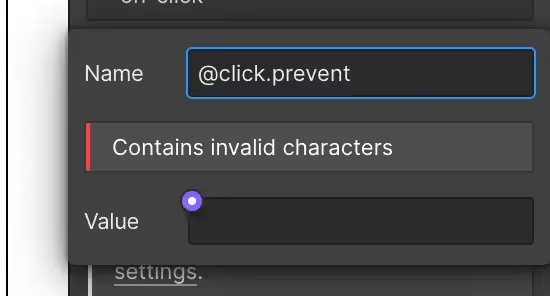
When you're using Webflow as a front-end builder and want to integrate Alpine.js, it's possible to connect HTML attributes directly in Webflow. However, you might face limitations when using attributes starting with "@", ":", or "on-". So, what's the best way to go about it?
Vanilla JavaScript or jQuery Approach
In vanilla JavaScript or jQuery, you would typically use an ID or class name, then write a line of code to let the JavaScript function know where to find the active element.
Alpine.js: A Simpler Way
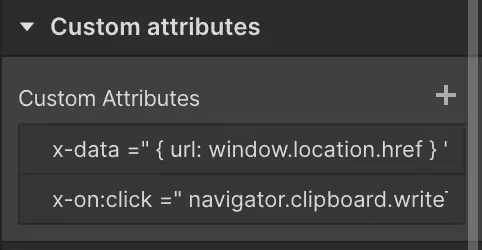
With Alpine.js, you can use a simple tag like "x-on:click" to call a function. There's no need to call for an ID, class, or HTML attribute!
The Result: Example of a Countdown Function
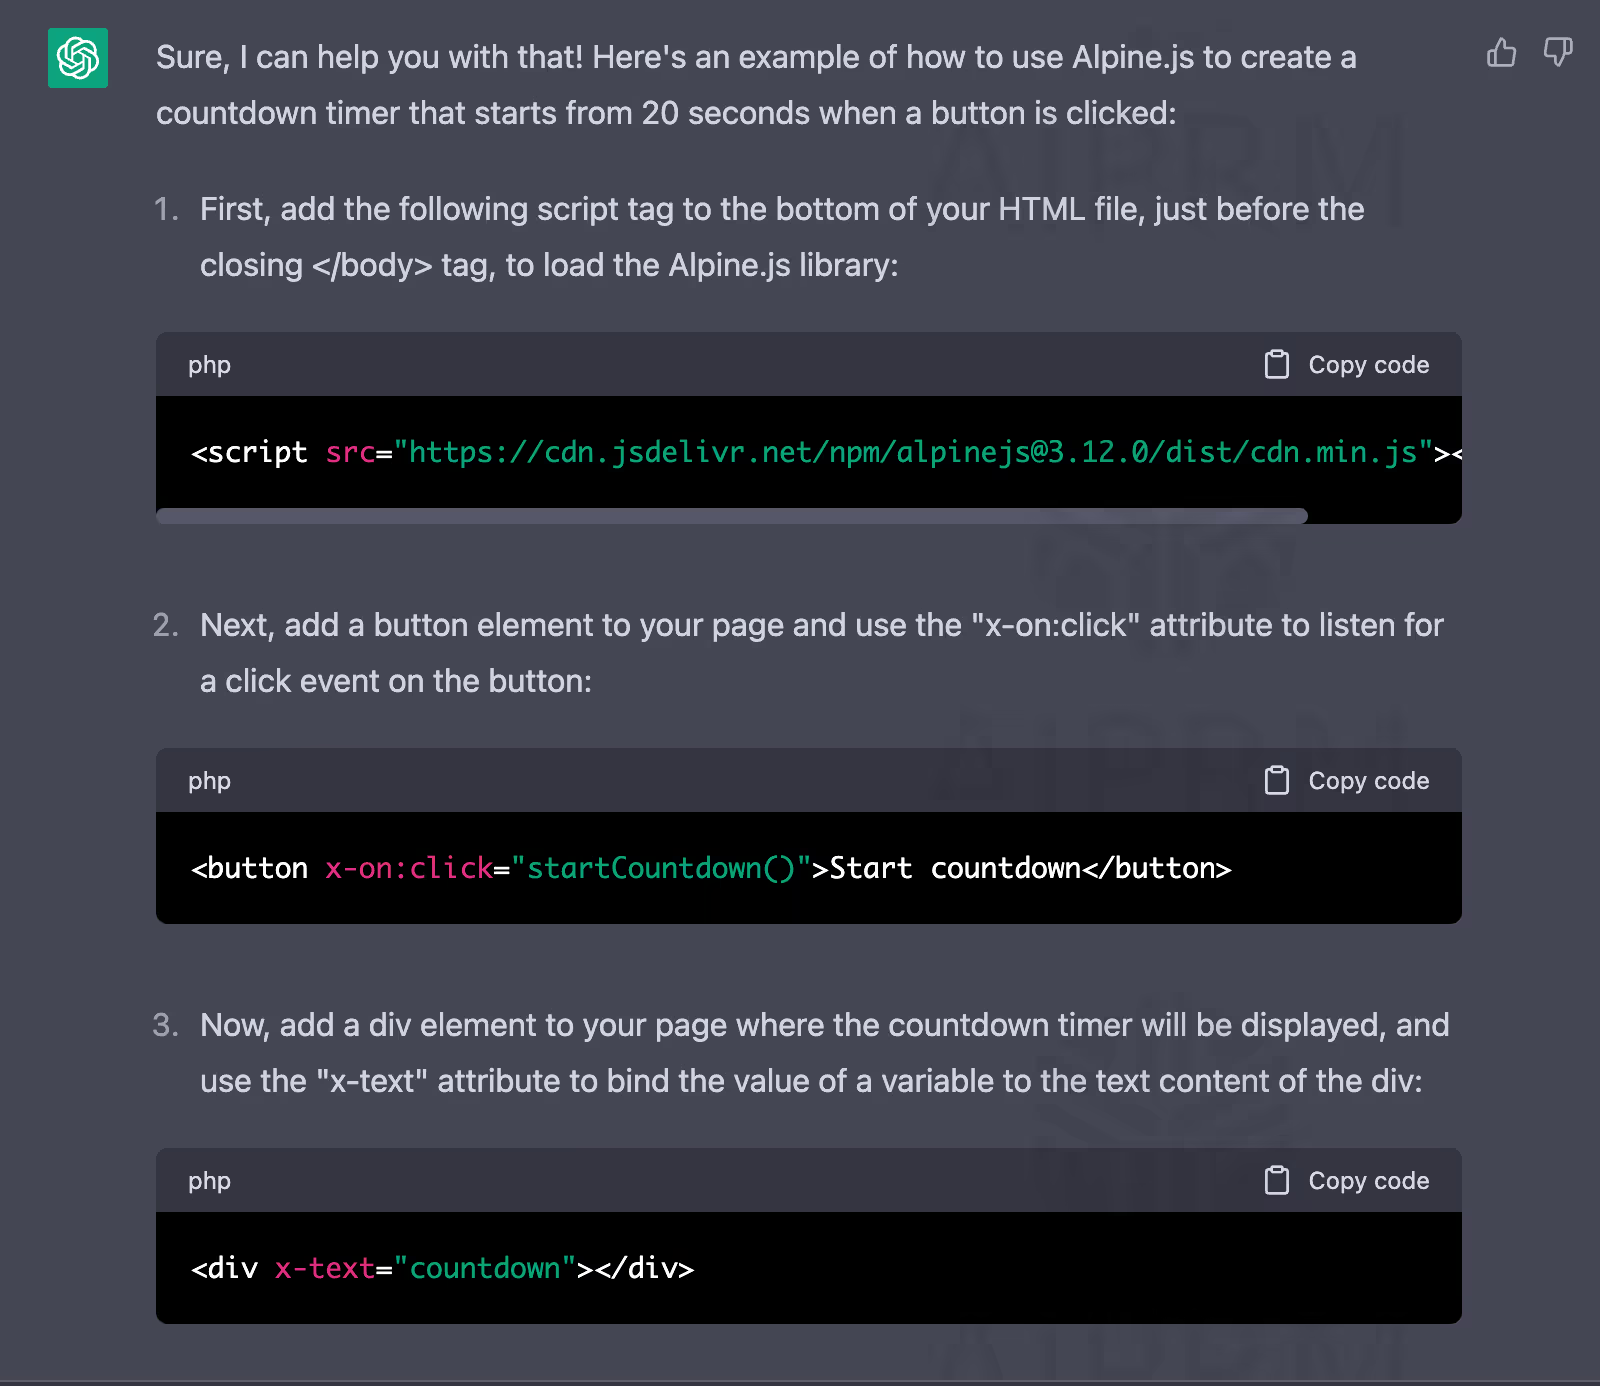
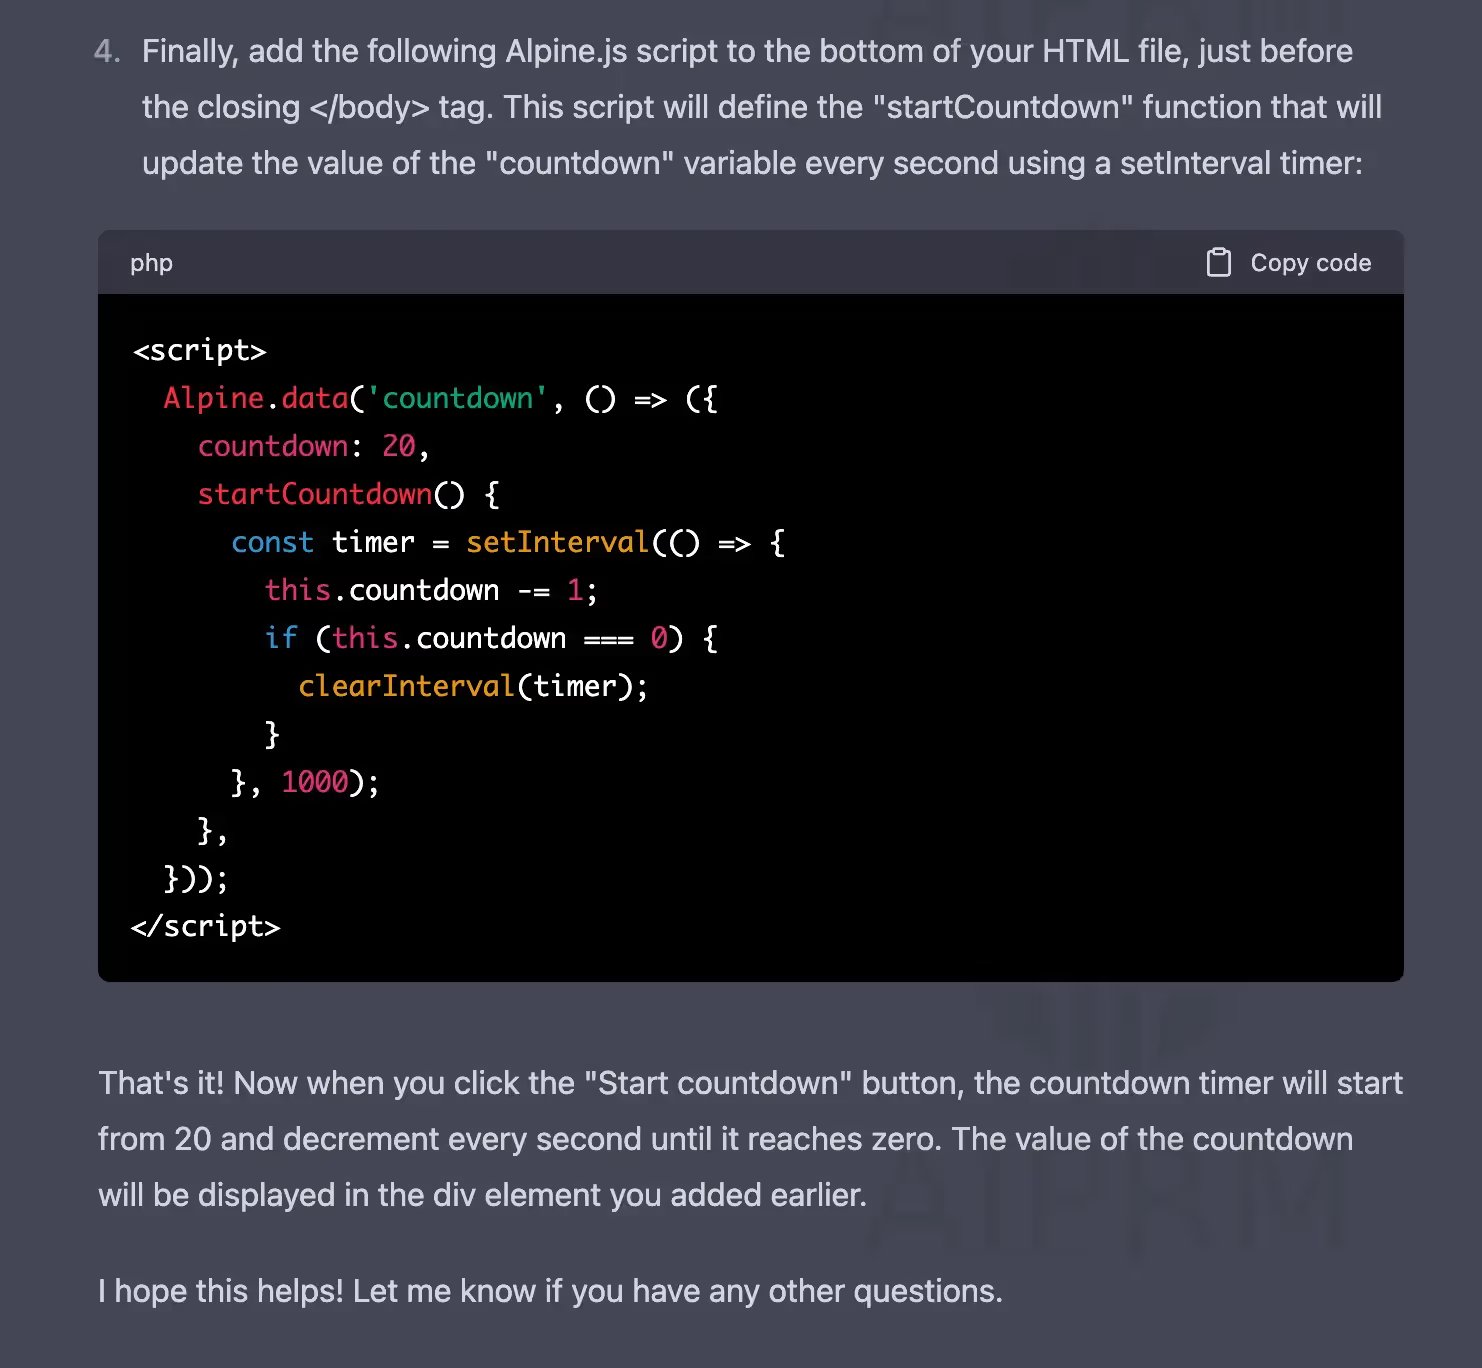
Initially, I needed a function that would countdown from 20 after clicking a button. To my surprise, ChatGPT generated an impressive solution for me. It provided step-by-step instructions on how to create different elements, assign attributes to them, and generate the code.
Instructions
I was genuinely amazed by what GPT generated for me. It provided detailed, step-by-step instructions on how to create various elements, explained which attributes to assign, and even produced the corresponding code
The Script Placement
It's important to note that the generated script should be placed in a separate <script> tag before the closing </body> tag. This makes it easier for Webflow designers to work with.
The Prompt Link
And now, as promised, here's the link to the prompt that helped me create the countdown function: https://app.aiprm.com/prompts/1806753635053596672
Happy coding!


