Element Glitch tutorial Webflow

Related articles:
How to create
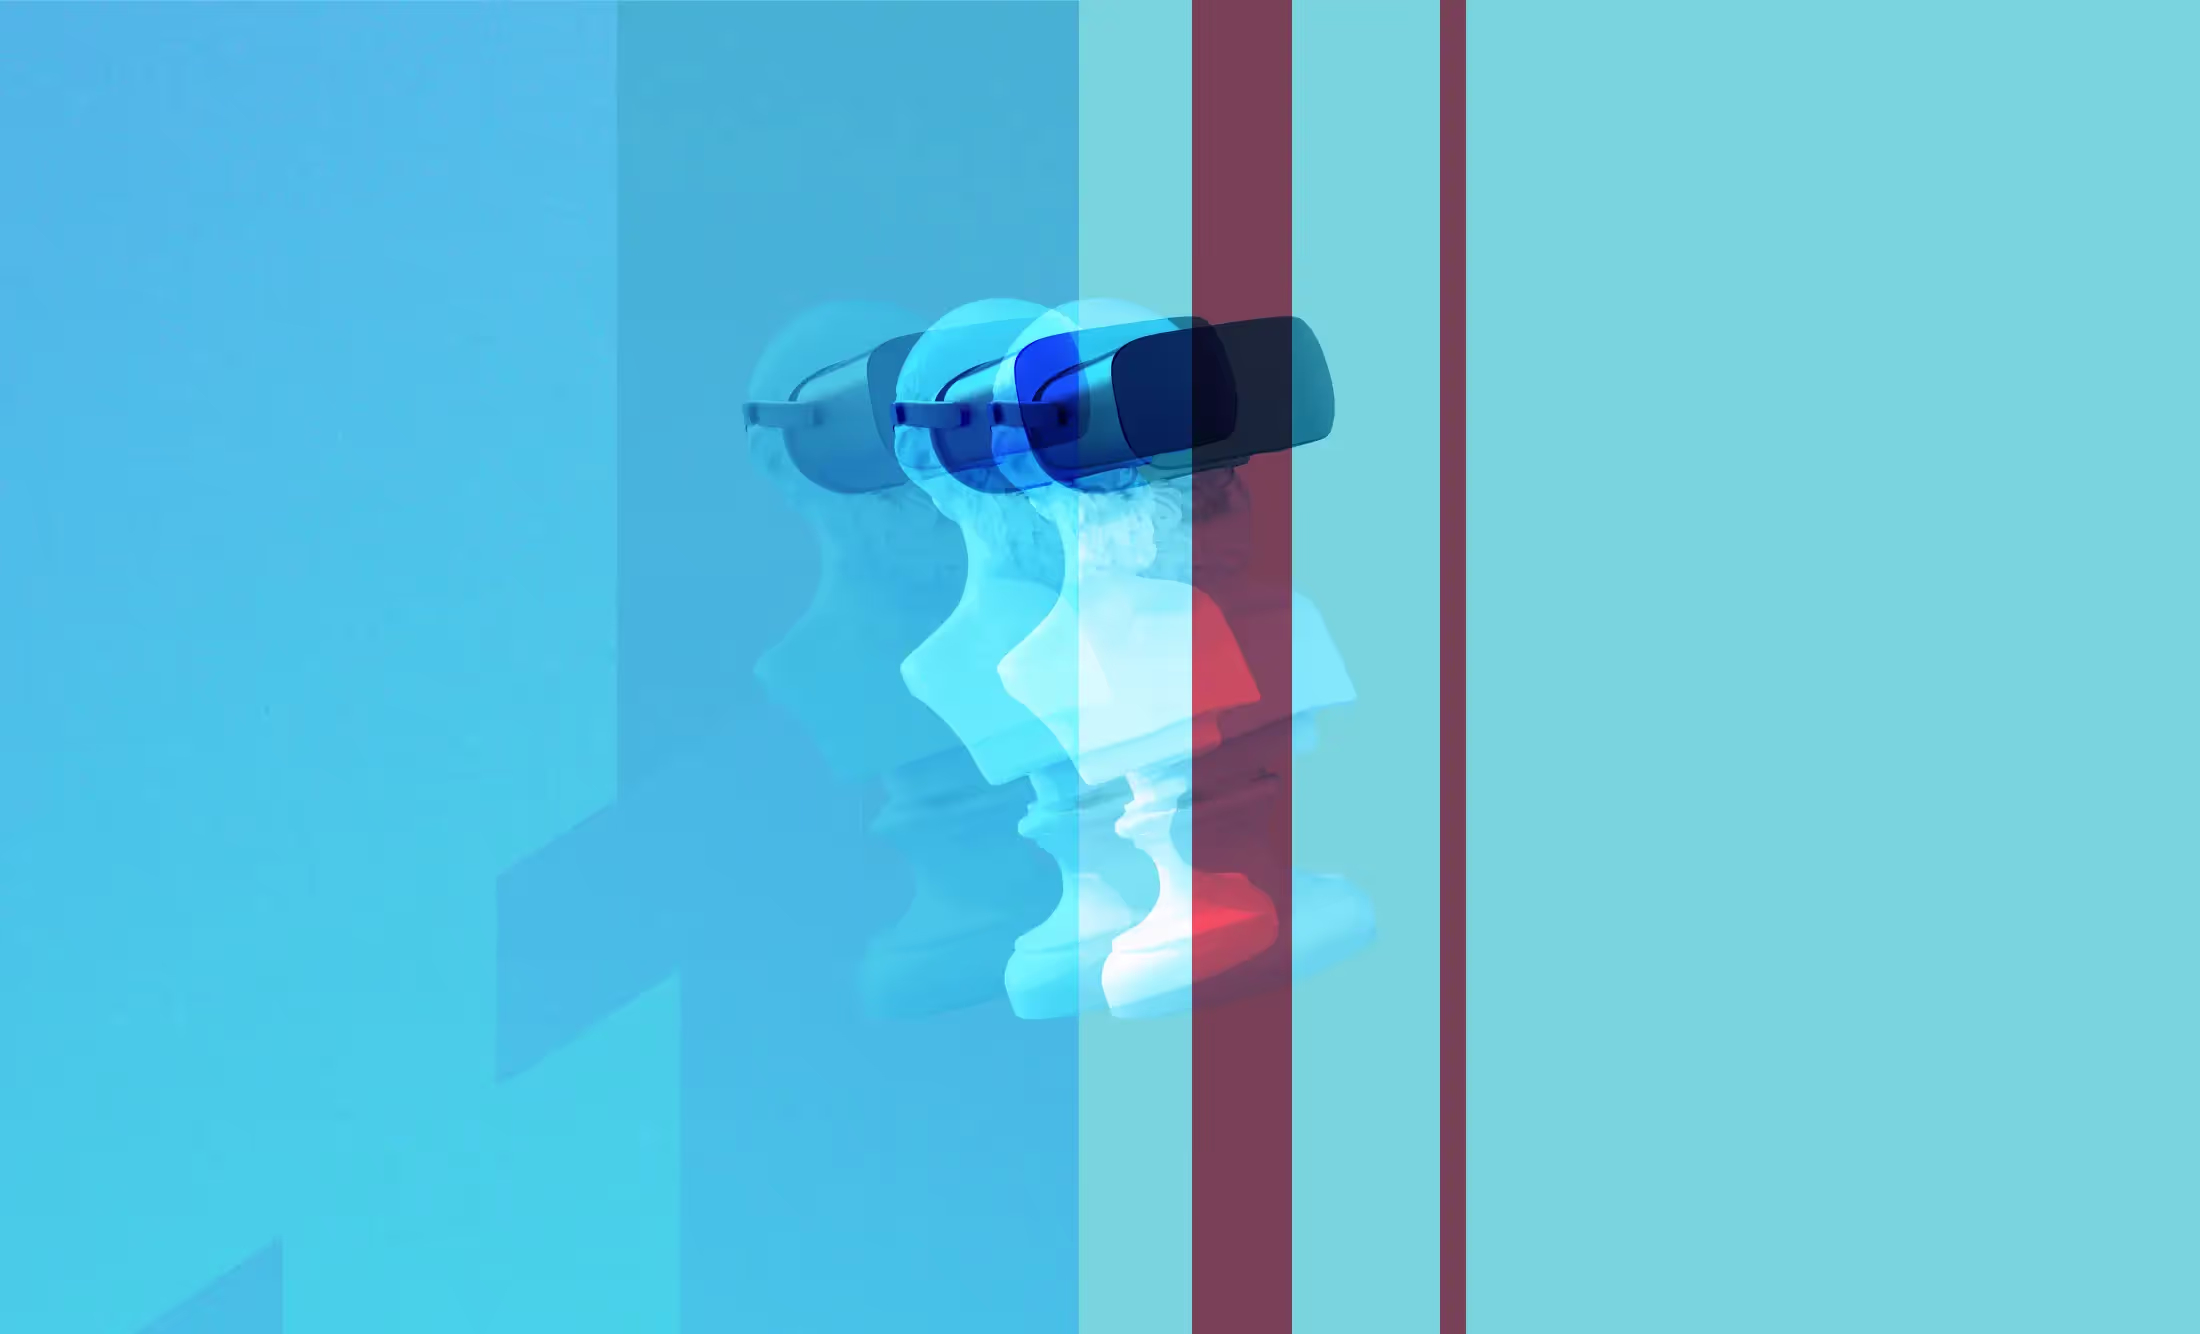
To achieve this effect, we need to create 2 other variants of the original image, one green and one red. On hover the interaction will quickly flicker between the 3 several times over with some blur then come full circle back to the original.
Set up the image layers
Duplicate the image you wish to apply the effect to twice, we are going to create the green and red versions first, then set up the interactions.
.avif)
Set the position of both to ‘Absolute’ and ensure it is set to ‘Full'. This ensures the image is filling the same space as the original. Ensure the Z-index is higher than the original so that the 2nd image is on top, so that we can see it for editing purposes.
.avif)
Scroll down the inspector panel on the right hand side to ‘Filters' and depending on your original image apply filters to adjust it to a bright turquoise green you are happy with.
.avif)
Repeat this step for the red version, Z-index to adjust where the image is so that you can see it for editing purposes.
.avif)
Then set the red image layer to a Z-index of ‘-2’ and the blue layer to ‘-1’. The original image Z-index should be blank or set to '0':
.avif)
You should now have 3 versions of the image:
- The original
- Red version
- Green version
With the red & green versions behind the original in Z-index order.
Set up the interaction on hover
Next we need to turn these 3 images into the glitch on hover interaction.
Select the original top image and set up a new hover interaction:
.avif)
.avif)
Next set up 3 new starting animations for Blur filter, opacity and move. Check the box for each of ‘Set as initial state’. Blur filter set to 0px, Opacity at 100% and move at 0,0,0.
.avif)
Next lets set up moves for each coloured layer that moves it horizontally and vertically by a few pixels and another one that increases the original image filter blur from 0px to 2px
.avif)
Then let's move the red layer by -8px to offset it from the original. All interaction layers should have super short durations between 0.01 or 0.02, this ensures that they flicker rapidly.
.avif)
Repeat this for the green layer:
.avif)
then for the original image layer set the opacity to 0, set up more layers that toggle the opacity between 100% and 0 once more.
.avif)
Between this we move the red around and have it finally for the last move set back to 0px:
.avif)
and same for the green layer:
.avif)
Add a final filter towards the end that brings the blur back to 0px:
.avif)
Play the interaction to see how it looks and tweak the timing and move properties until you’re happy with it.
Found this article helpful? Check out our agency site at: www.karpi.studio
and our other tutorial articles here

.webp)


