Setting up the Webflow Editor

Related articles:
Setting up the Webflow Editor
This is the most advanced Webflow Editor article so far. We are continuously working on adding new sections, and topics and making it as detailed as possible. Please use the table of content to orient yourself in the topics.
What is the Webflow Editor
The Webflow Editor lives in your published website. “It allows you to edit the content on your site directly on the page or manage pages and content through the Editor panel.”
You can also invite your copywriter or marketing manager to help you with it.
Setting up the Webflow Editor
If you are not invited to be an Editor of your page yet, ask the designer or the person in charge of the Webflow account to add you as the Editor.
If you are an admin and you want to add other people as the Editors follow these steps:
Watch a video on how to set up a new user:
The step-by-step description on setting up a new user:
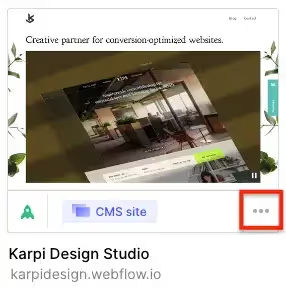
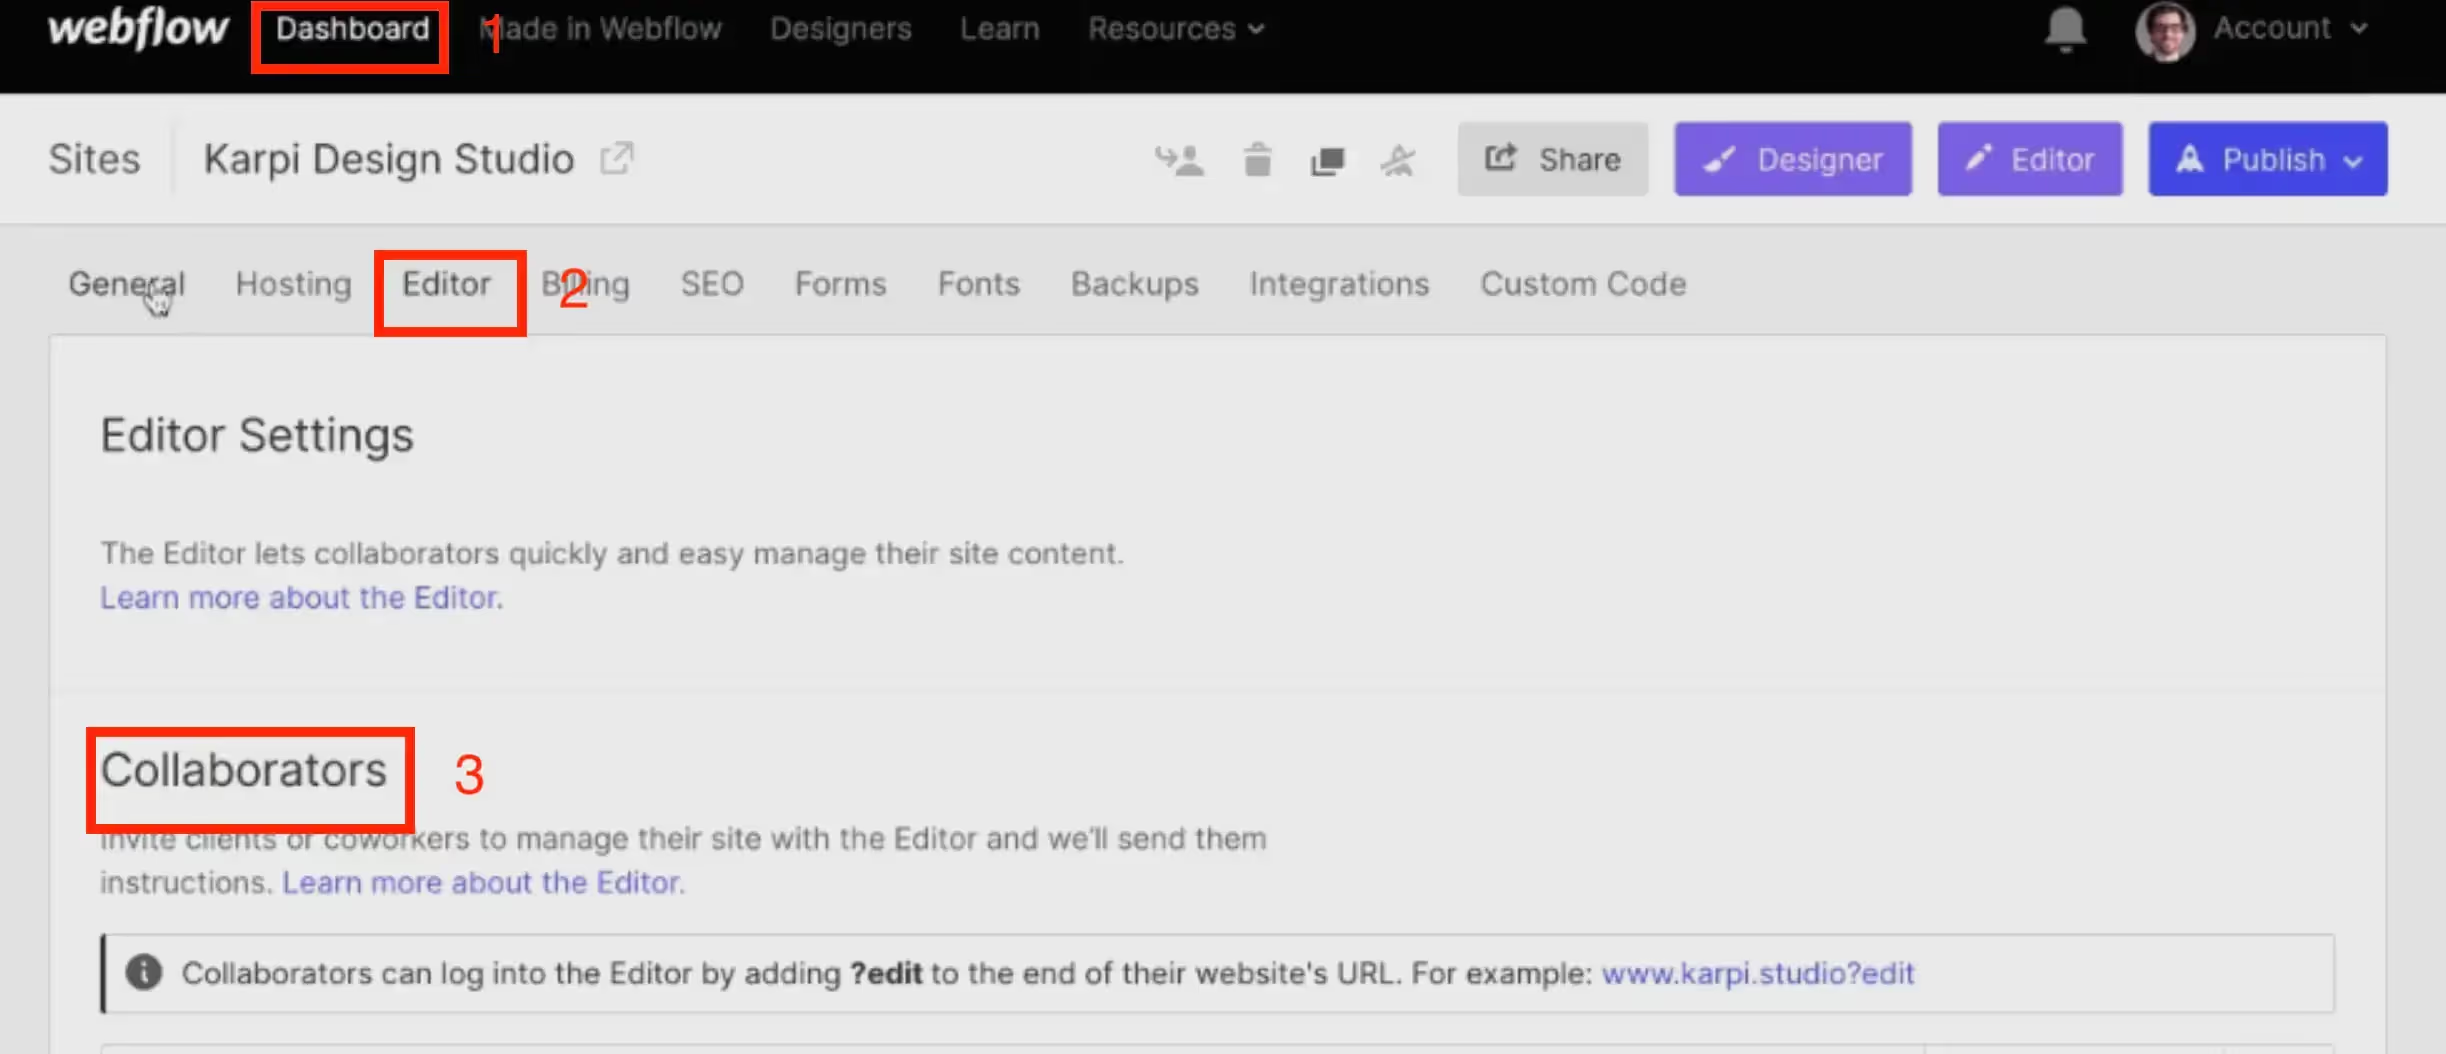
- Open your project settings in Webflow click on “Three dots“ icon and select settings.

- Select Editor.
- In the collaborator's section click on “+ Add collaborator” → add the email address of the new collaborator and send the invite.
Sometimes sending an invite doesn’t work. Then copy the link next to the email and send it manually via email, Messenger, Whatsapp, etc.

Create a user account in Webflow Editor
In this paragraph, you will learn how to create a user account on your website to be able to edit it.
Watch a video on how to create a new user:
The step-by-step description of creating a new user:
- Click on the invitation link that you have got in the email, Slack, etc.
- Fill in: Name, Surname, and create a Password.
- Right now you have created an account. To access it from the live site add your URL /?edit for example: www.karpi.studio/?edit
Password must be a minimum 10 characters and must contain at least 1 number, 1 uppercase, and 1 lowercase letter.


